
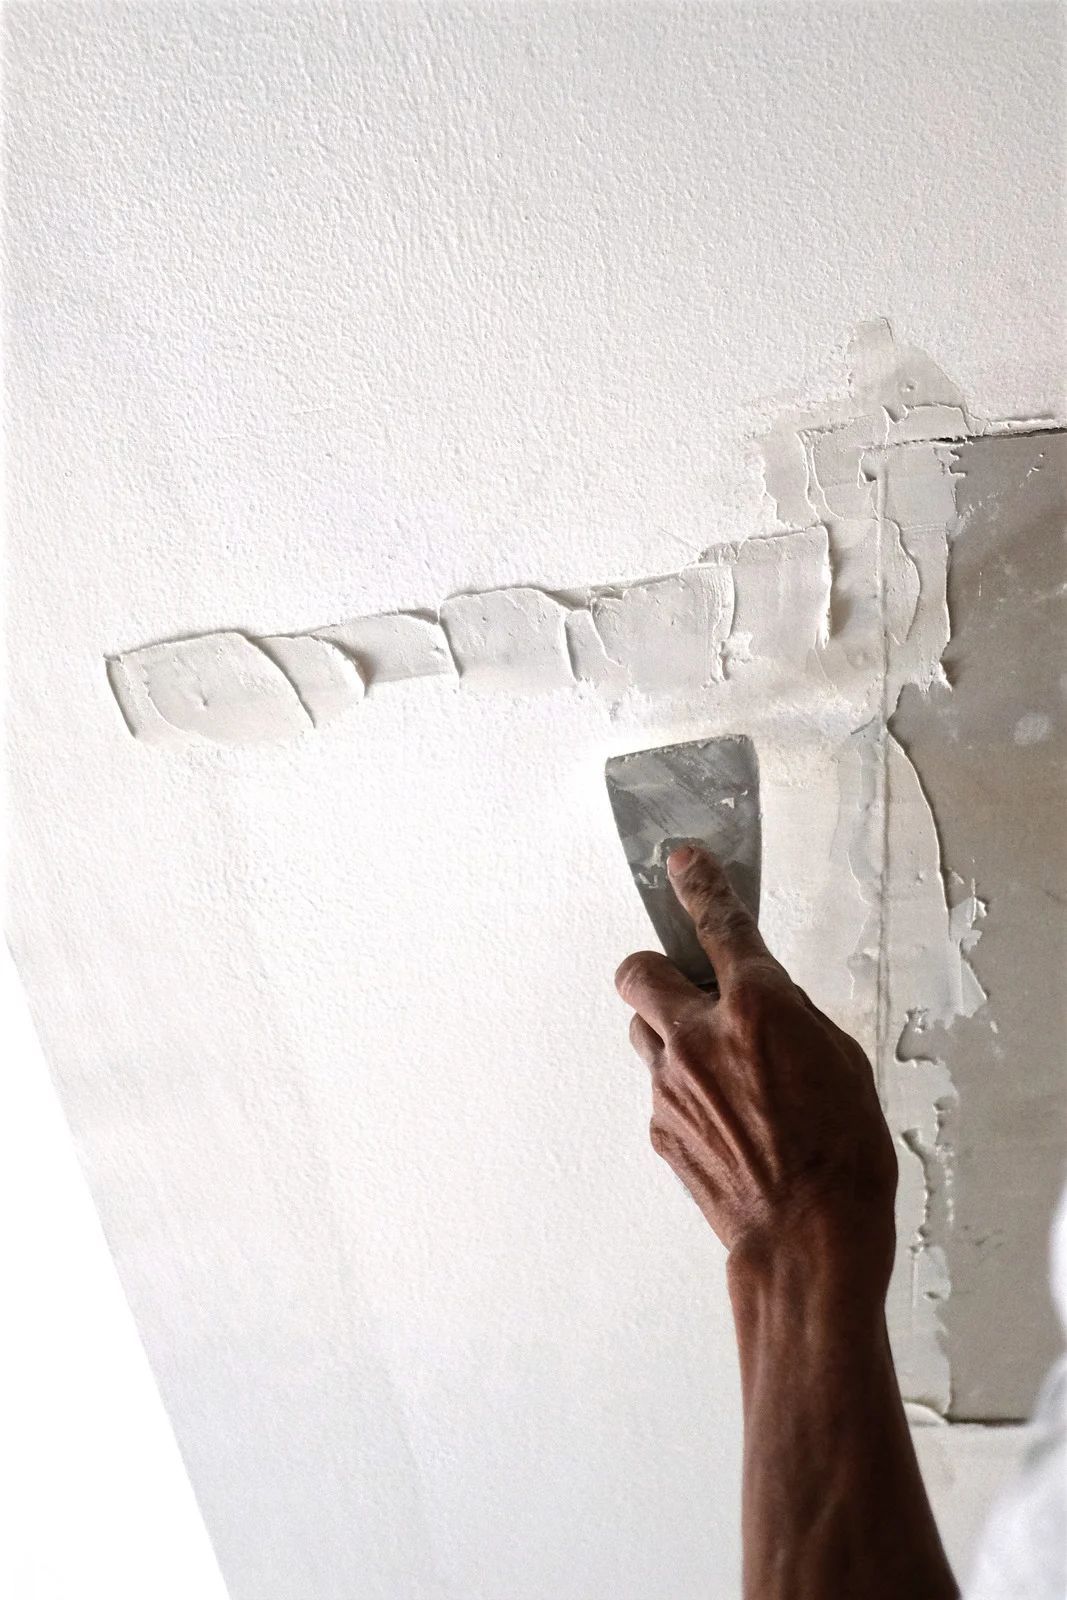
Learn how to handle water-damaged drywall effectively. Contact us for expert repair services today!
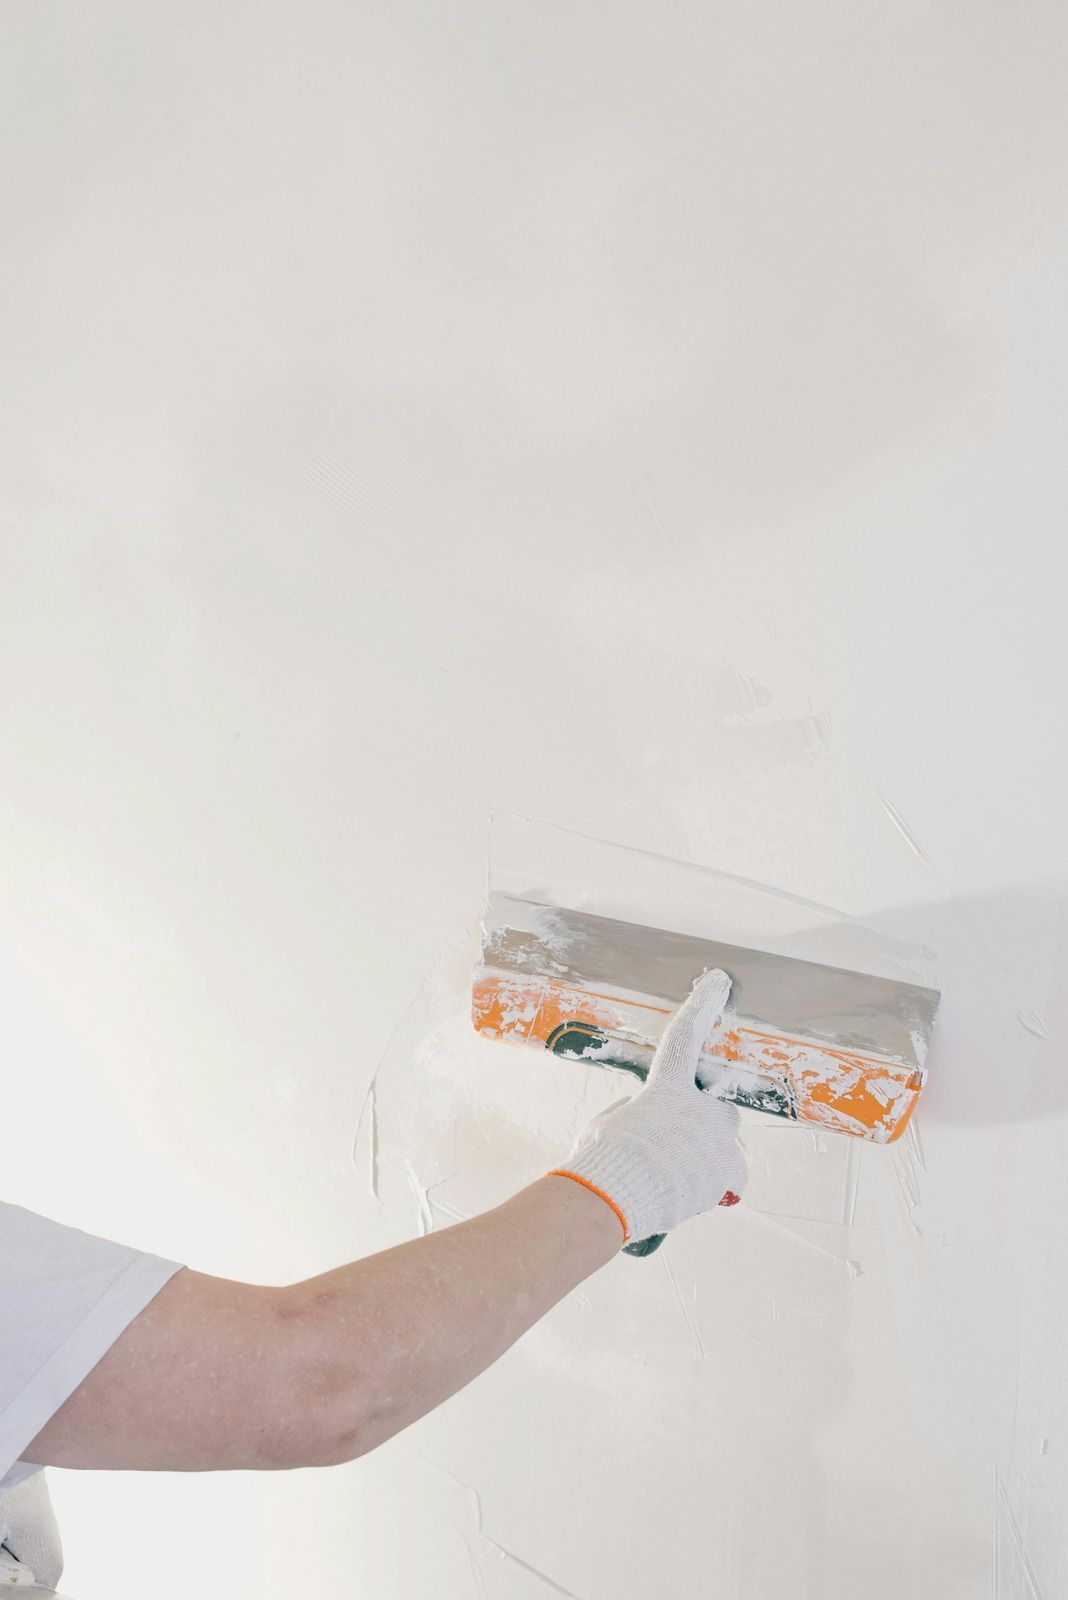
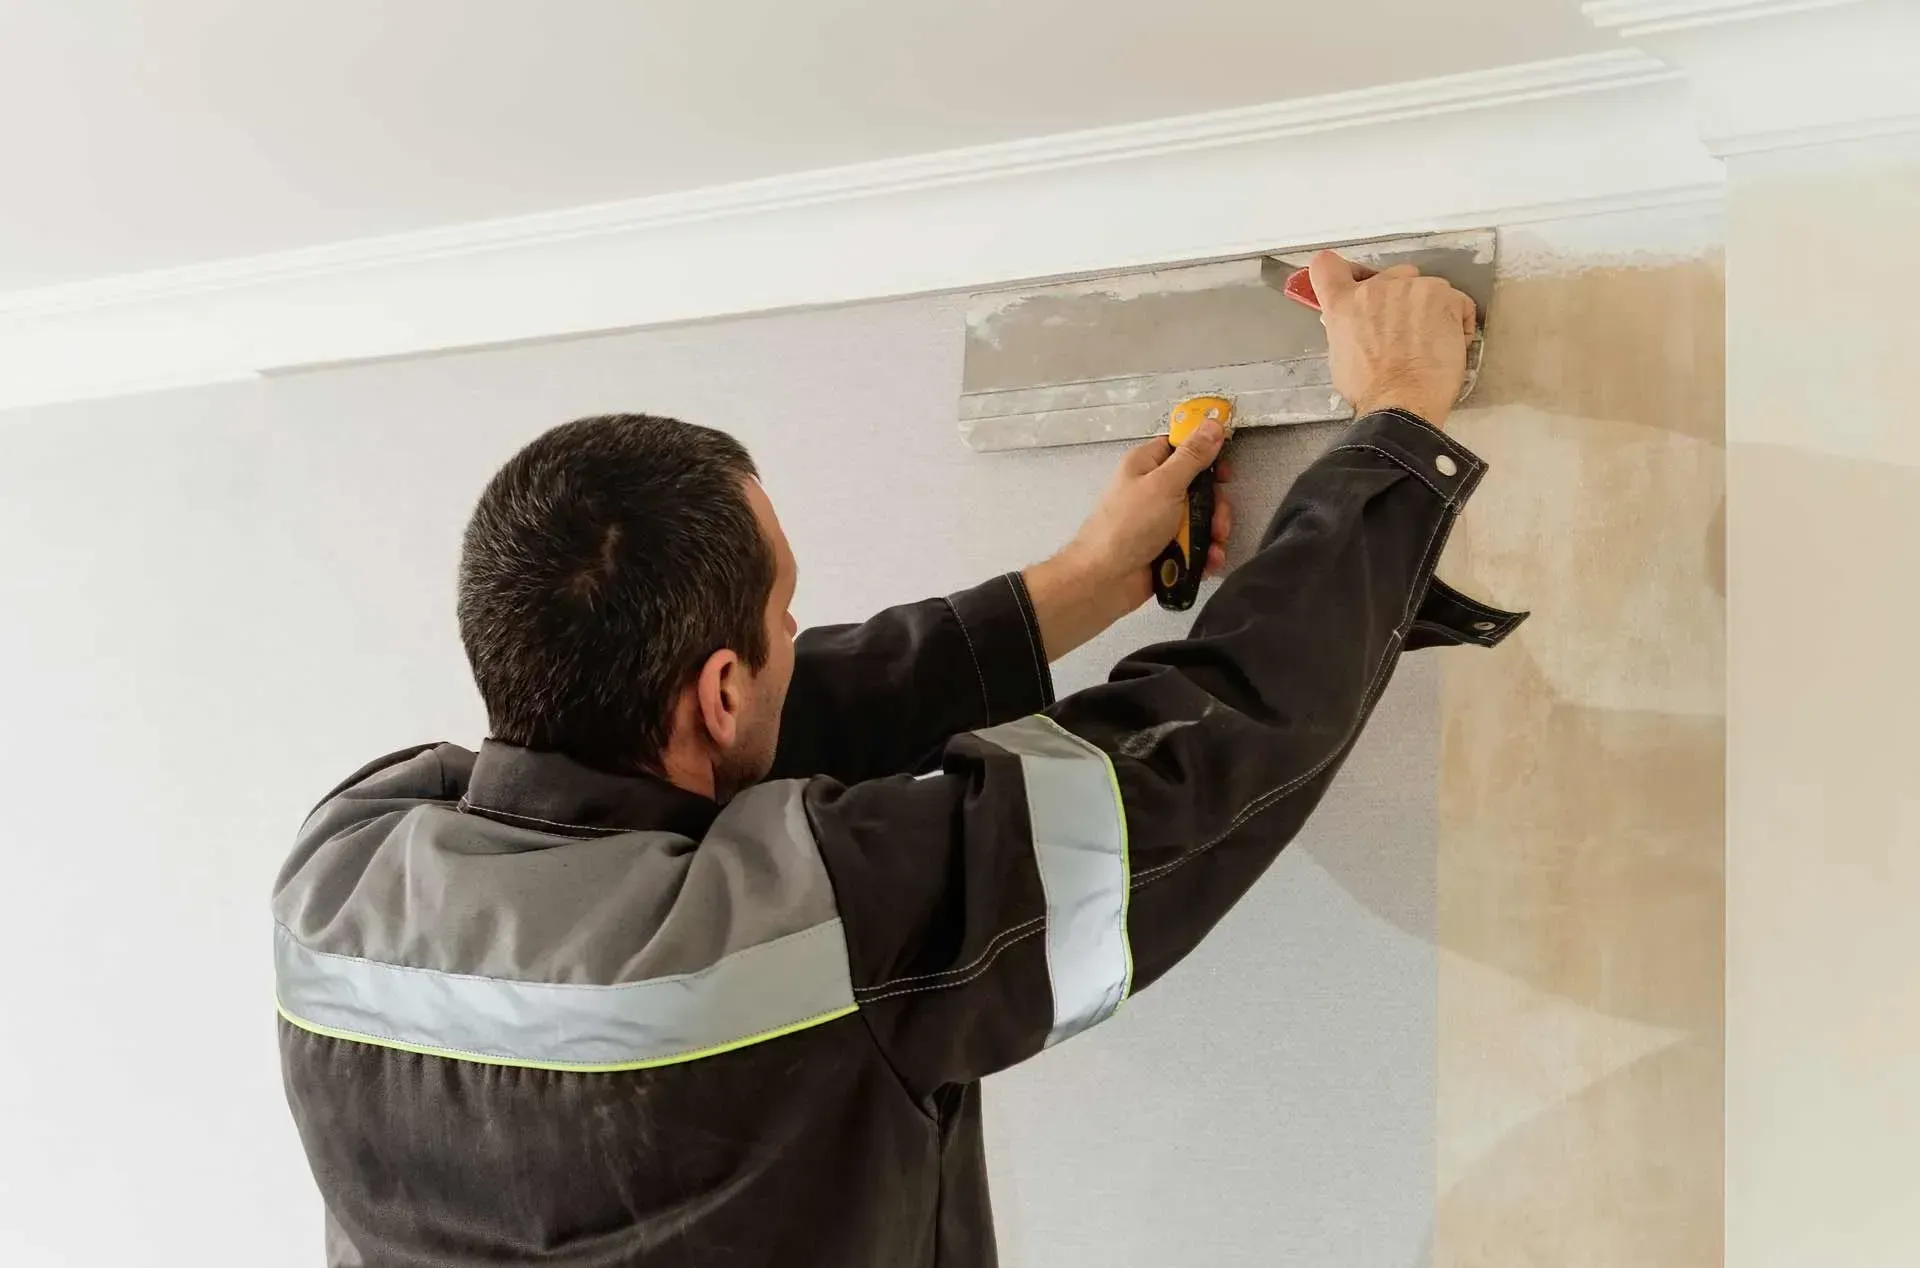
Learn about skim coating for drywall repair. Contact us to see if your home needs this service for smooth, flawless walls!
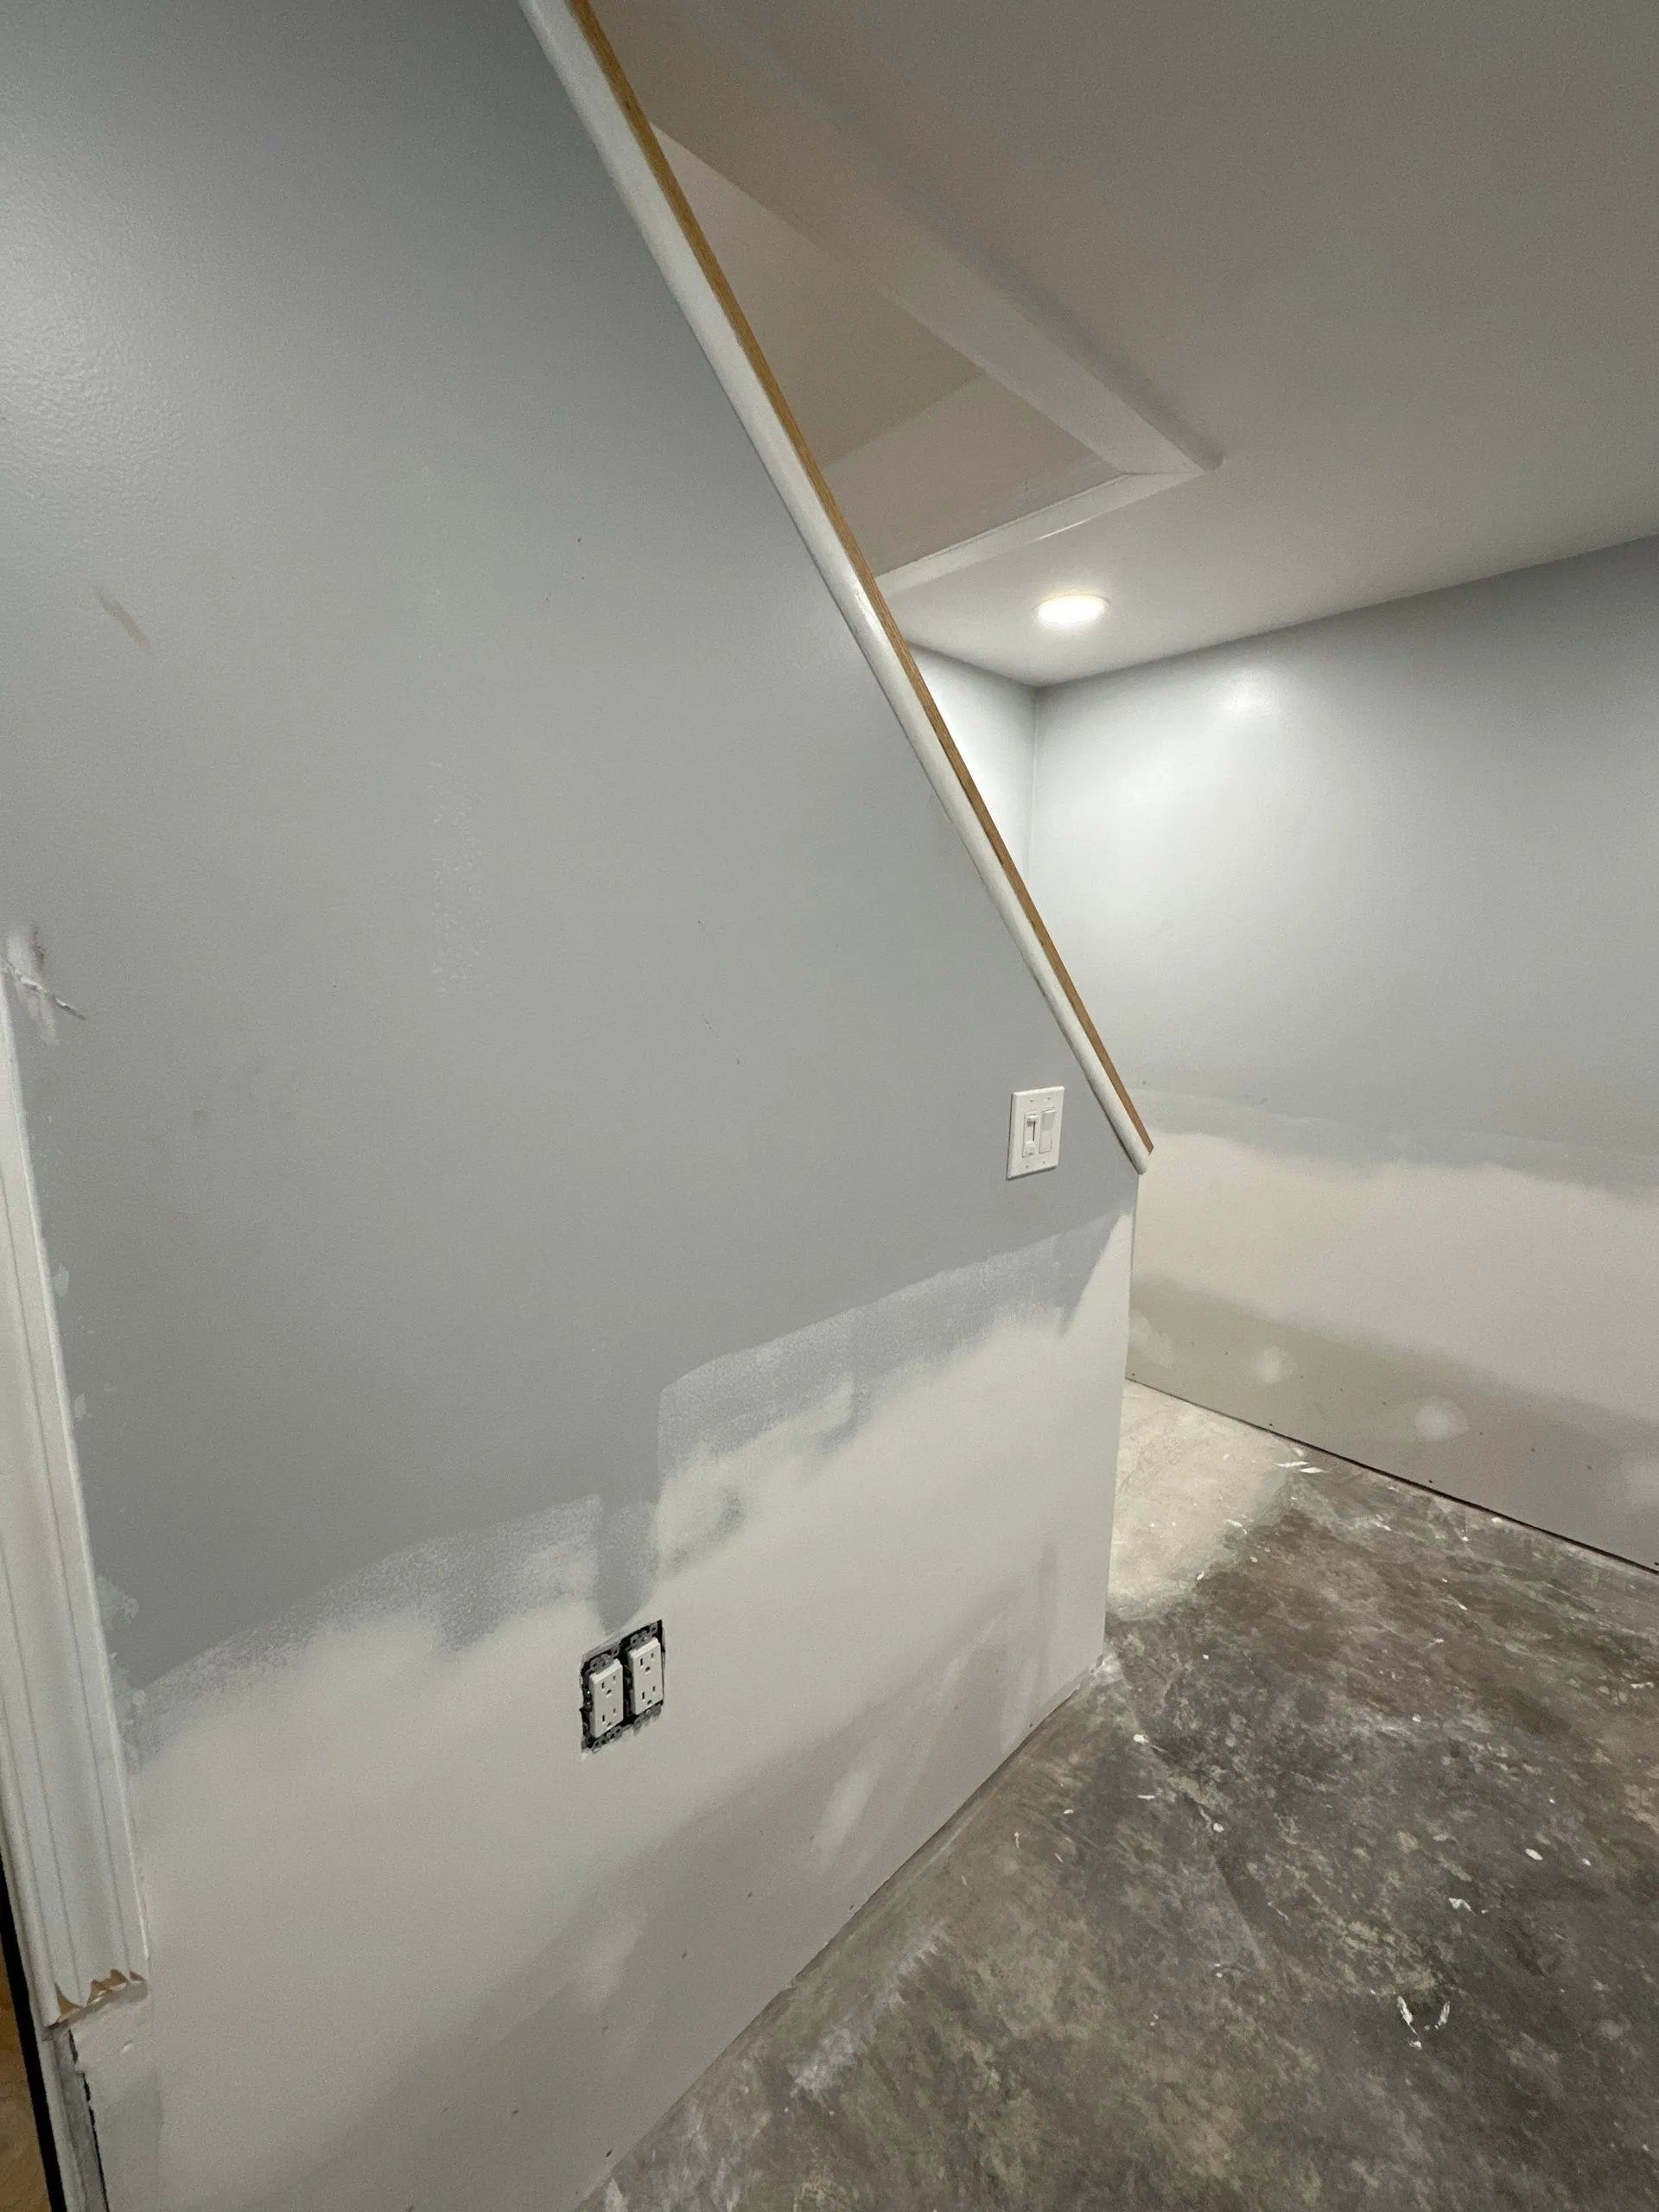
Pennsylvania’s climate presents a unique set of challenges for homeowners, particularly when it comes to maintaining drywall and interior wall systems. With cold, dry winters, humid summers, and fluctuating temperatures throughout the year, interior materials are constantly expanding,
Learn how to handle water-damaged drywall effectively. Contact us for expert repair services today!
Learn about skim coating for drywall repair. Contact us to see if your home needs this service for smooth, flawless walls!
Pennsylvania’s climate presents a unique set of challenges for homeowners, particularly when it comes to maintaining drywall and interior wall systems. With cold, dry winters, humid summers, and fluctuating temperatures throughout the year, interior materials are constantly expanding,