Preparing Your Walls for Painting: Why Professional Drywall Work Matters
August 30, 2026
Quick Answer: Paint amplifies whatever is underneath it. Patched drywall that isn't sanded smooth, primed, and texture-matched will telegraph through the topcoat as flashing, ridges, or a visible patch outline, sometimes not until weeks after the job looks finished. The fix starts before the roller ever touches the wall: feather every patch wide, sand it level without gouging the paper, match the surrounding texture, and seal bare compound with the right primer so it absorbs paint at the same rate as the rest of the wall. Skip any one of those steps and the paint job that looked flawless on day one starts showing its seams by month three.
You step back from a wall you just repainted, and there it is: a dull, slightly matte rectangle sitting right where you patched a hole last spring. The rest of the wall has a soft sheen. That one spot looks like it's wearing a different finish entirely. It's not your paint. It's what was under it.
Paint doesn't create a smooth wall. It reveals one. Every ridge, every soft dip, every patch that got skipped during priming shows up the moment light hits it at an angle, and it usually shows up worse a few weeks later once the paint fully cures. That's the part homeowners rarely expect: a repair that looked invisible on repair day can still bleed through months down the road.
The Wall Underneath Does All the Work
Painters talk about "coverage," but coverage was never the goal. A gallon of paint is a thin, translucent film, not a spackle. It clings to whatever texture and porosity already exist on the surface. If the drywall underneath has a slightly raised patch, a feathered edge that wasn't feathered wide enough, or a spot where joint compound was left thicker than the surrounding wall, paint doesn't hide any of it. Side lighting from a window or a lamp will grab that raised edge and cast a shadow line straight down the wall.
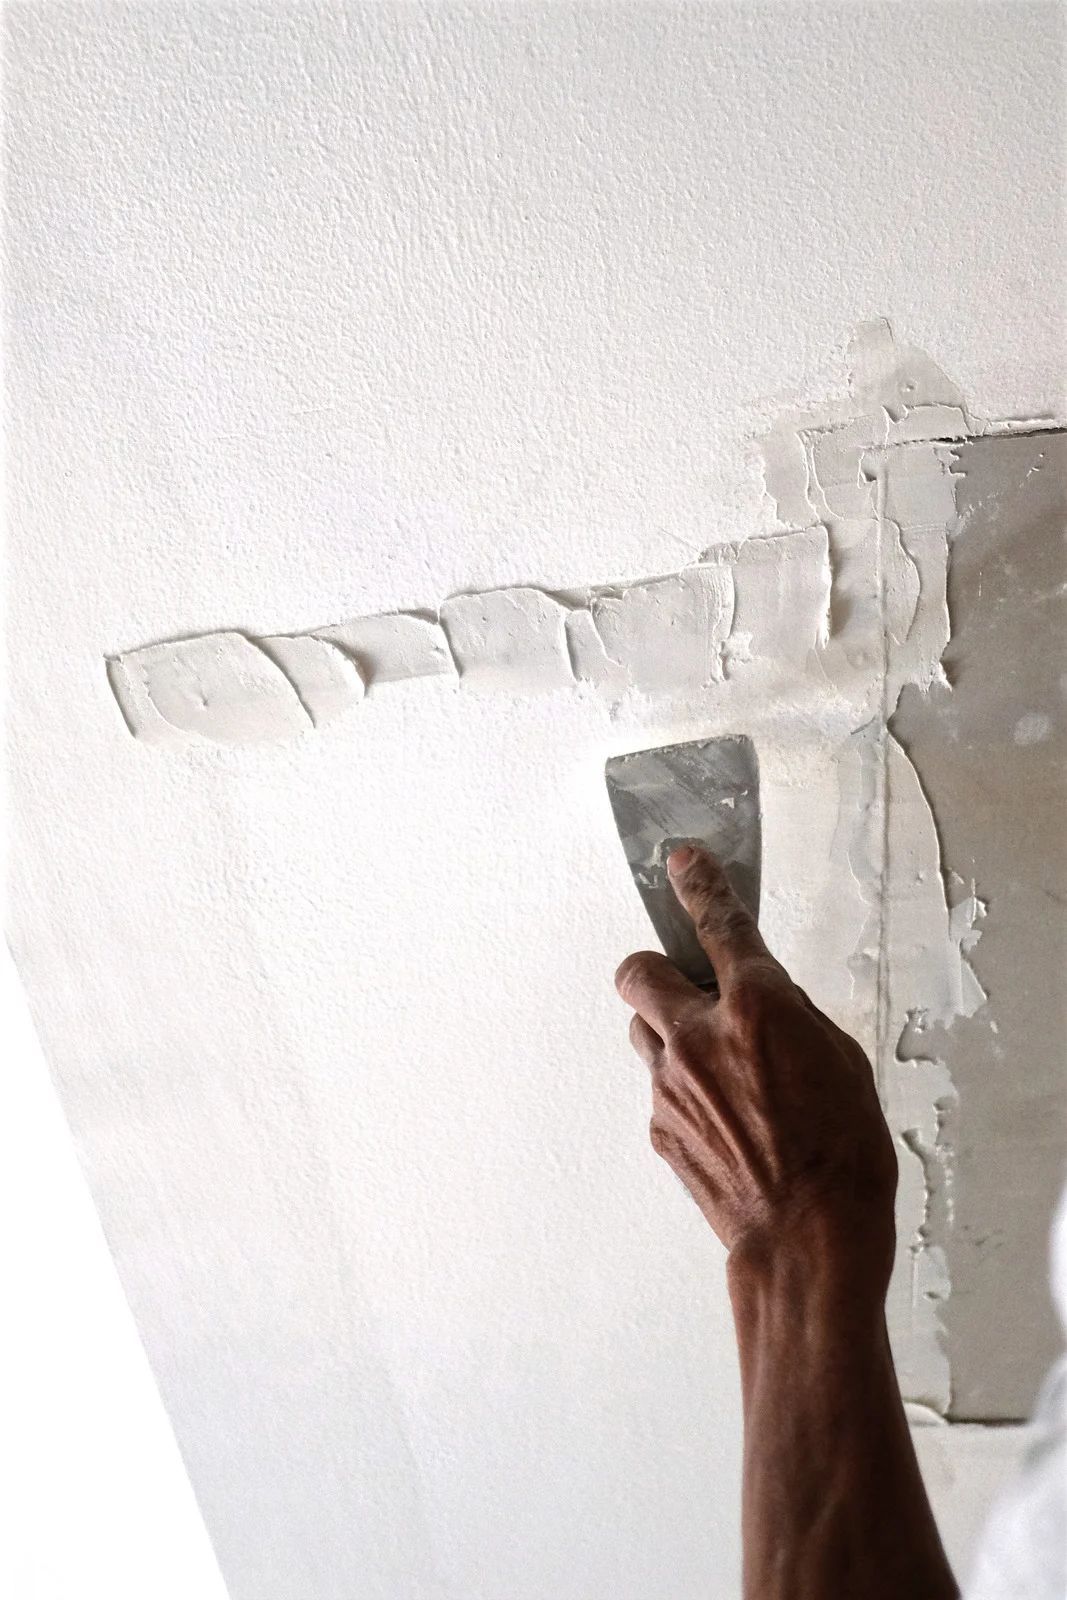
This is why the actual work of a good paint job happens before the primer can, at the drywall stage. Feathering a patch wide enough that the compound tapers to nothing over eight to twelve inches, rather than stopping abruptly at the edge of the damage, is what keeps the repair from reading as a bump under paint. Rush that step and no amount of careful rolling fixes it later.
Why Bare Patches Drink Paint Differently
Fresh joint compound is porous in a way painted drywall simply isn't. Set a patch next to a wall that's already had two coats of paint, and you've got two completely different surfaces sitting side by side. The bare compound soaks up paint like a sponge, pulling moisture and pigment out of the first coat faster than the surrounding area can. What's left behind is called flashing: a patch that looks duller, or occasionally glossier, than everything around it, even though the same paint went on both.
Flashing isn't a paint defect. It's a prep defect wearing paint as a disguise. The surrounding wall has already had its porosity evened out by prior coats. The bare patch hasn't. Skip a coat of primer over that spot, or use the wrong primer, and you're asking one coat of finish paint to do a job it was never built to do: even out two different absorption rates at once.
Spot priming matters more than people think. A quick pass of a stain-blocking or PVA drywall primer over just the repaired area, feathered slightly past the edge of the patch, equalizes how much paint the surface pulls in. Once that's done, the finish coat lands evenly across old wall and new patch alike, and the flashing that would otherwise show up under raking light simply doesn't happen.
Sanding Technique: The Step Most People Rush
Sanding a patch sounds simple until you've actually watched someone do it wrong. Press too hard with coarse paper and you'll scuff through the compound into the paper facing of the surrounding drywall, which then absorbs paint differently than everything around it, a second flashing problem stacked on top of the first. Sand too lightly and you leave faint ridges from the trowel or knife that only become visible once paint catches the light.
Good sanding is patient work. It calls for a fine-grit sanding sponge, light pressure, and a hand run flat across the patch to feel for high spots before a single coat of paint goes on. A work light held at a low angle against the wall, the same angle a lamp or window will hit it at later, shows every flaw a straight-on glance misses. That five-minute check with a raking light catches problems that would otherwise turn into a callback two weeks after the paint dries.
Matching Texture, Not Just Color
Most South Central PA homes weren't built with perfectly smooth walls. Older homes around Hershey and Lancaster often carry a light orange-peel or knockdown texture from decades of prior paint jobs, while newer builds might have a smoother factory finish. A patch that's sanded dead smooth on a wall with texture will sit there looking like a bald spot, no matter how well the color matches.
Texture matching means building the surface back up, not just filling the hole. That can mean a light spray or roll-on texture designed to mimic orange peel, or a hand-applied knockdown technique that matches the pattern already on the wall. Get the sheen right and the color wrong, and a patch is still invisible under most lighting. Get the color right and the texture wrong, and it will always look like a patch, even freshly painted.
What Skipping Prep Actually Costs You Later
Skip proper drywall prep and the wall doesn't fail right away. That's what makes it frustrating. The paint goes on, it looks fine for a week or two, and then humidity swings through a South Central PA summer or a cold snap sets in over the winter. Drywall and joint compound expand and contract slightly with moisture and temperature. A patch that wasn't sanded flush, primed correctly, or given time to fully cure before painting is the first place that movement shows up.
That's when the real problems appear: paint bubbling at the seams where compound never fully bonded to the surrounding wall, edges of the patch starting to peel because primer never sealed the porous compound underneath, or a faint outline resurfacing months after the room looked done. None of that is a paint problem. It's a drywall problem that paint was asked to cover up instead of fix.
Nobody wants to find that out twice.
TIP: Before painting over any patch, run your palm flat across it in a slow circle. You'll feel a ridge or a dip long before your eyes catch it, especially under regular room lighting. Fix it at the sanding stage. It's a five-minute check that saves a full repaint later.
DIY-Doable vs. When to Call a Pro
A single nail hole or a small ding from moving furniture really is a weekend project. Fill it, let it dry, sand it smooth, prime the spot, and paint. Most homeowners can handle that without much trouble.
Where it gets harder is anything larger than a few inches across, anything on a textured wall, or repairs where the surrounding paint has already flashed or peeled once before. Matching an existing knockdown texture takes practice most people only get by doing it dozens of times. Feathering a large patch so it disappears under both direct and raking light is a skill, not a guess. And ceilings are their own challenge entirely, since gravity works against you the whole time you're troweling compound overhead.
Getting the drywall stage wrong doesn't just mean a bad-looking wall. It means paying for paint twice: once for the coat that goes on over bad prep, and again when that prep failure shows up and the wall needs to be sanded, patched, and repainted from scratch.
WARNING: Never paint over a patch that still feels damp or slightly soft to the touch. Joint compound that hasn't fully cured will trap moisture under the paint film, and that moisture has to go somewhere. It usually shows up as a soft bubble or a peeling edge within days.
Timing the Prep Before the Paint
Drywall repair work needs a dry environment and enough cure time before primer goes on, generally at least 24 hours for a standard patch, longer for anything skim-coated or built up in multiple layers. Humid stretches, common across South Central PA in summer, slow that cure time down. Painting a room the same day the drywall work finishes is one of the more common reasons a job that looked perfect at handoff starts showing flaws a few weeks in.
A properly sequenced job goes patch, sand, prime, then paint, with real drying time built into each step rather than compressed to save a day. That sequence is also why dust containment matters during the drywall stage. Sanding compound generates fine dust that settles on baseboards, light fixtures, and anywhere paint is about to go. A contained, methodical approach to sanding and cleanup means the surface that gets primed is actually clean, not just smooth.
Frequently Asked Questions
Do I really need to prime a drywall patch before painting?
Yes. Bare joint compound is far more porous than painted drywall, and skipping primer means that spot will absorb paint differently than the rest of the wall. That difference shows up as flashing, a dull or shiny patch that stands out once the paint dries.
How long should a drywall patch dry before I paint over it?
A standard patch needs at least 24 hours before priming, and longer in humid weather or if multiple coats of compound were applied. Press the patch gently; if it still feels cool or slightly soft, it needs more time.
Why does my patch show up even though the paint color matches perfectly?
Color match and texture match are two different problems. A patch sanded smooth on a wall with orange-peel or knockdown texture will still stand out because the surface pattern doesn't match, regardless of how close the paint color is.
Can I skip sanding if the patch already looks flat?
No. Even a patch that looks flat to the eye can have subtle ridges or a slightly raised edge that only becomes visible once paint and light interact with it. A light sanding pass with a fine-grit sponge catches what your eyes miss.
Is texture matching necessary for a small patch, like a nail hole?
Usually not for something that small, since minor holes rarely disrupt the surrounding texture pattern. Larger repairs, anything a few inches across or bigger, almost always need texture work to blend in.
What causes paint to peel at a patch weeks after it was repaired?
Peeling at a patch is almost always a sign the compound wasn't fully cured or sealed before paint went on. Trapped moisture underneath the paint film eventually pushes the edge loose, sometimes months after the room looked finished.
A Finish That Holds Up Beyond Fresh Paint
The difference between a paint job that looks good in photos and one that continues looking polished for years often comes down to what happens before the paint is applied. Properly repaired walls are sanded smooth, primed to control absorption, and textured to match the surrounding surface. These details prevent flashing, visible patch lines, ridges, and peeling from undermining an otherwise careful paint job.
For homeowners in Hershey, PA, professional drywall preparation provides a reliable foundation for a lasting finish. With 20 years of experience, Patch Boys of South Central PA understands how much attention the surface beneath the paint deserves. Careful preparation creates walls that look consistent in different lighting, hold paint evenly, and maintain a clean appearance long after the final coat has dried.
The best results are rarely about making a wall look perfect for a single day. They come from correcting imperfections thoroughly, allowing materials to cure properly, and preparing every repaired area for the conditions it will face over time. When the drywall work is handled with patience and precision, the finished paint becomes the natural final layer rather than something expected to conceal unfinished repairs.